I've been on vacation, with my in-laws here, and spent about 5 days 8 hours each working on the tailcone.
It really is a lot easier with an extra set of skilled hands and this thing is really starting to look like an airplane now.
First job was to construct the tailcone rear bulkhead, this is a complex piece, it has a lot of rivets of different kinds. It's also a very important piece, where everything we've built so far attaches together, which is why it has to be so strong.
As usual there are some new techniques to learn here, the tie-down skid for instance is fabricated from raw stock using a template and a selection of tools. I really enjoyed making that bit.
This is also the first time I've had to tap a thread into a drilled hole, and it was a lot more difficult than I expected. (I learned later that the tap I was sent in the toolkit is a very poor example, a decent tap set worked a lot easier on the next section. Overall I'm not at all impressed with the quality of the tools I got in the planetools kit, most of them have been replaced with better quality versions already.)
The finished rear bulkhead

It took about 2 days to prepare all the parts for the bulkhead, deburring priming, countersinks, fabricating the tie down etc., and the assembly took just a couple of hours, it was really quite easy to squeeze all the rivets with 2 people.
Next task was to prepare the remaining tailcone frames. These frames are much simpler, they are really just ribs that come in two halves that need to be joined.


Next I had to cleco all the skins to the frames so that I could mask them for priming the contacting surfaces.


Once I had all the skins taped at the overlapping joints, we disassembled it all, primed the mating surfaces and made sure we had enough break on the joints for a smooth fit.
then the final assembly was quick and easy. This piece really goes together quickly and makes the whole project look like it's much further along :)


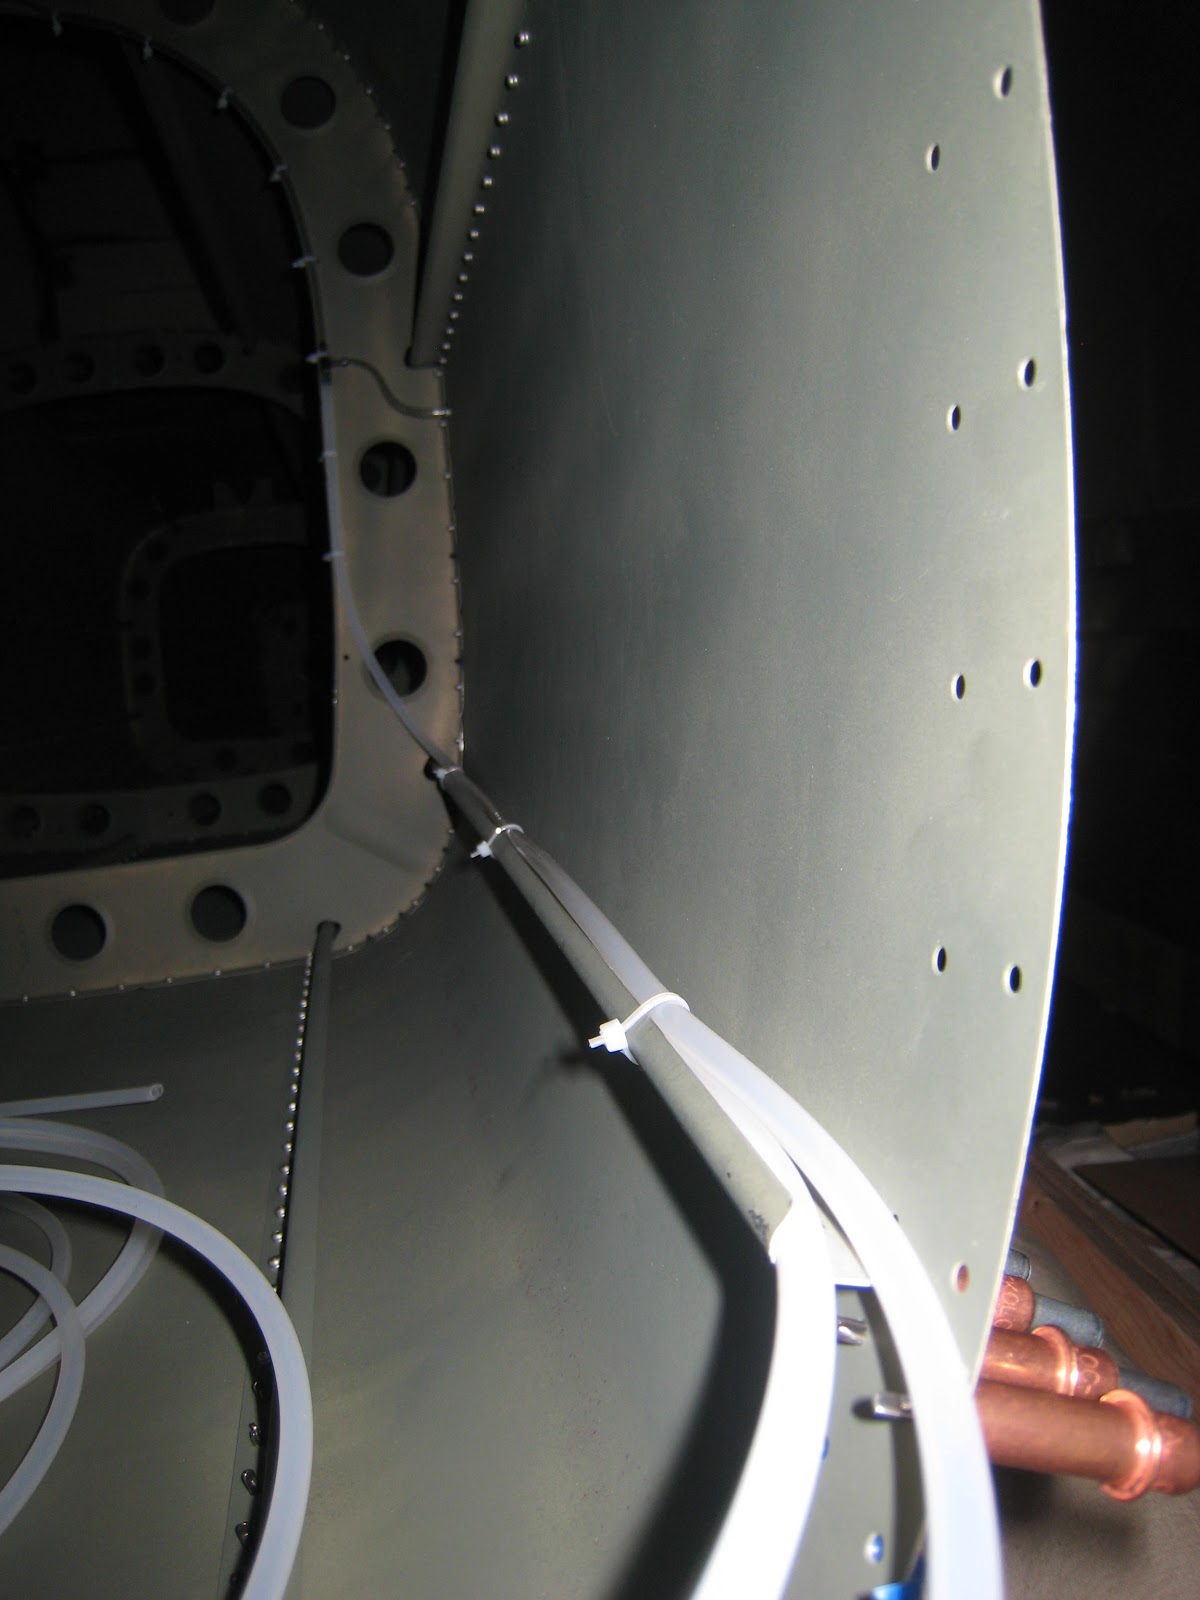
Notice that the static pressure vents have been installed as well as the electric trim wires that run the full length of the tailcone.
The plans say to just run the wire in the metal J channel, but that leaves the wire making a very sharp bend on a metal edge and I don't like that idea, so I ran a length of plastic tubing as conduit to protect the wires.


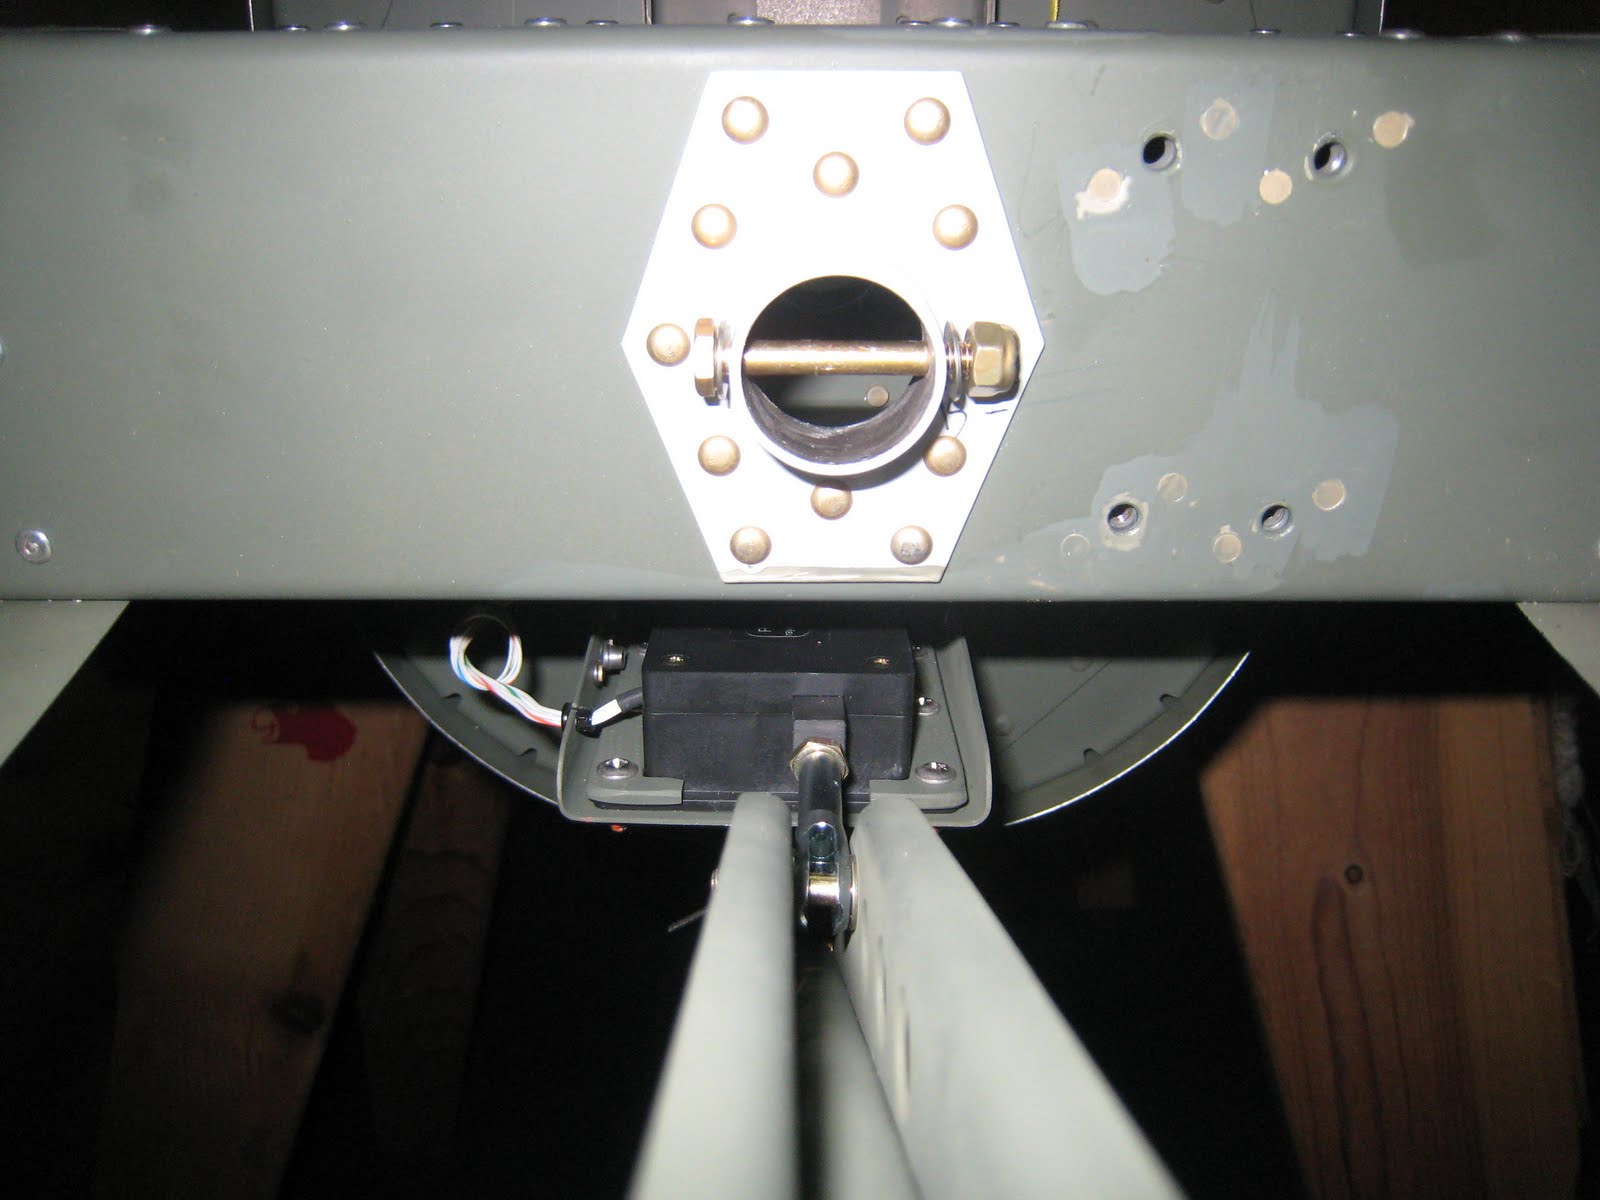
Before the tailcone was assembled I did a test fit of the stabiliator to determine the correct washers to place around the bearings. The washers are then superglued in place as per the plans, since you can't get your hands in there later.

One last bit of priming

Now the really fun bit!
I got to attach all the pieces I've made so far, now this really does look like it might be an airplane !


Finally the AST tabs are attached with the actuator arm and the electric trim motor.
Now I can see how this all works, it's a really nice design.