Had a very busy weekend, I managed to do some work in the garden (new planting area for vegetables) and fixed up some loose steps on the deck.
Despite that I managed to get a few hours in each day Saturday and Sunday working on the plane.
I also had help from my good friend Philippe and his son Alec.
Things really worked out well this weekend, I even got my old compressor fixed (for free !) I thought it was gonner and was told just to "buy a new one it will be cheaper" by most people I asked, but it turns out to have been just a stuck valve !, a local hardware store that I really like has very knowledgeable people, a nice family run business a quick trip down there and they guy had my compressor fixed in 5 minutes, no charge, great service !
So Saturday morning was spent doing the aforementioned random tasks, and I got started late in the afternoon with finishing the VS.
I decided to prime all parts that will be closed up and never seen again.
I'm using duplicolor self etching primer rattle cans, it seems to be working out ok, it's not something I would do for areas that will be seen in the final product, but for all the internals, it covers nicely if not altogether as neat as a professional job.
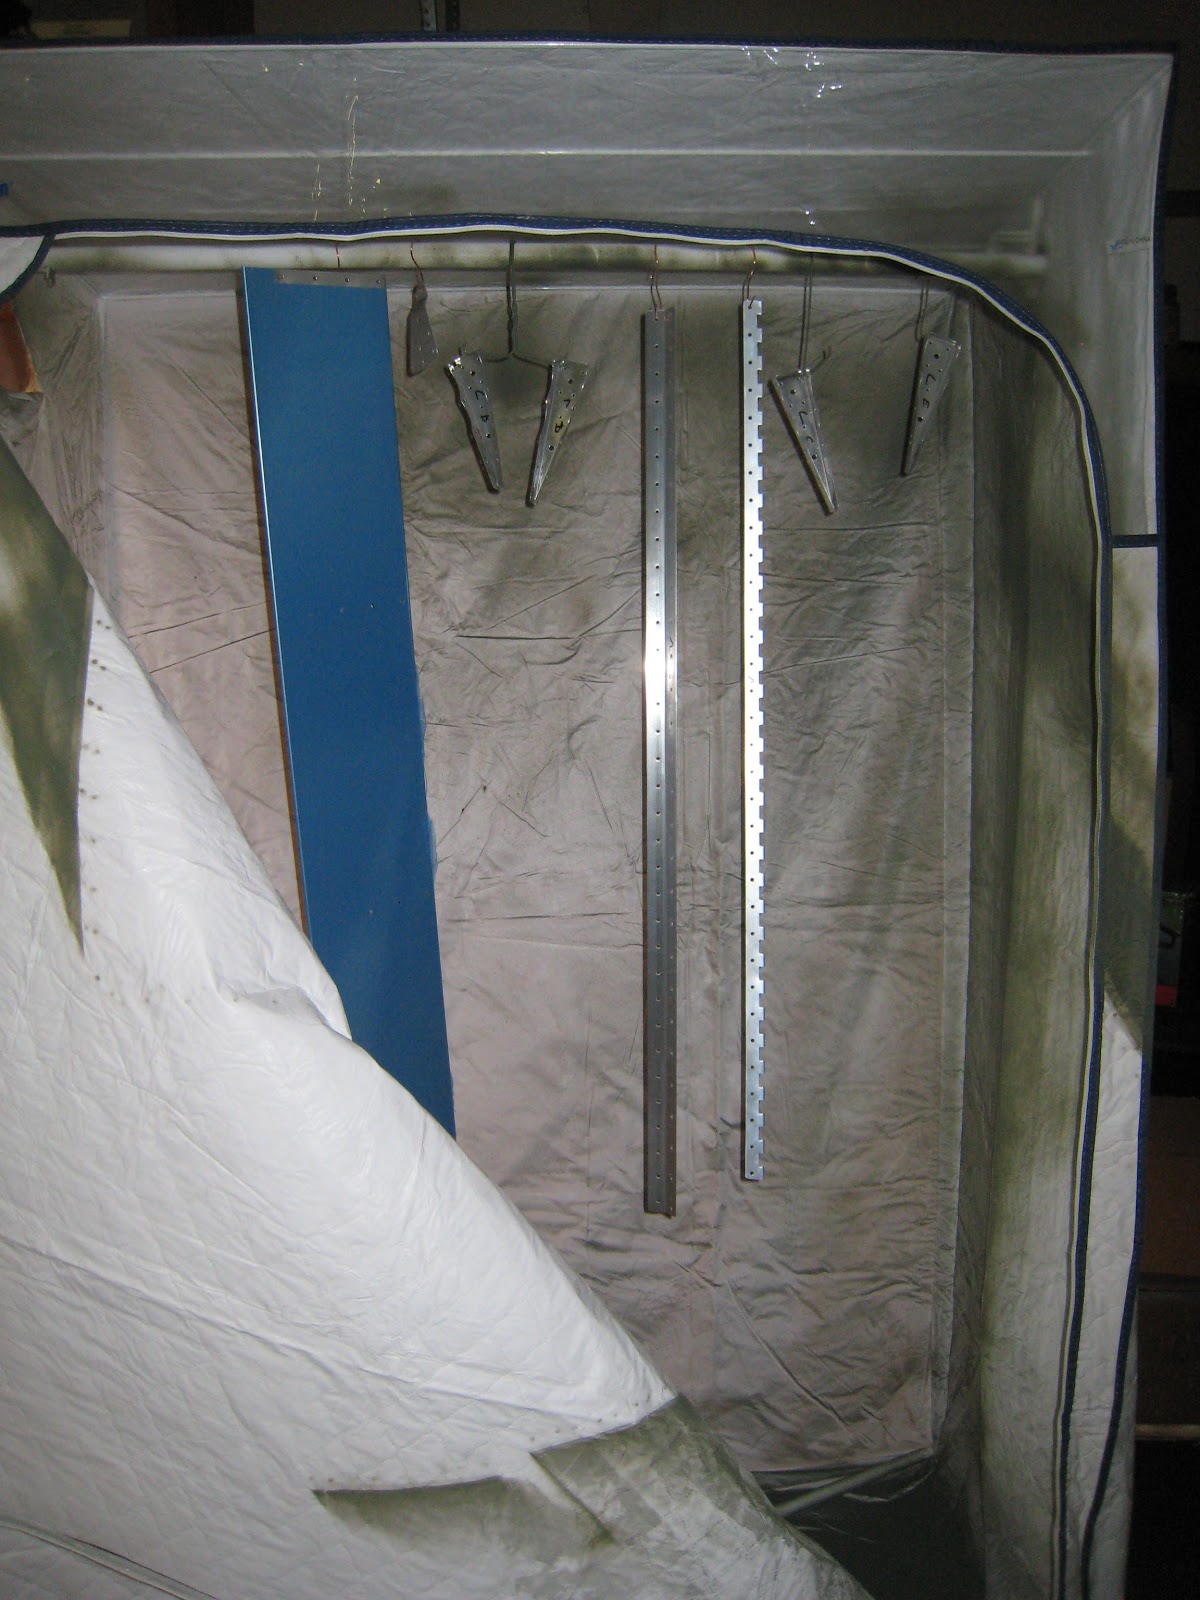
I put to use an old temporary closet that we have had stored under the house for 16 years, it's one of those $15 things from target that we got way back before we owned a home just as a temporary solution.
Anyway, it works great as a spray booth
I tried it first on the rudder hinges
then riveted them which was my first squeezed rivets of this size, it took a while to figure out the pneumatic squeezer to get the pressure to set them properly, it's quite a fiddly job, not sure if all tools work the same, but for mine I have to unwind the adjustment just wide enough to get the length of the rivet in the gap, then with the universal head in the indentation adjust the setting until it closes completely on the length of the rivet, then when I trigger the squeezer it has _just_ enough force to correctly set the rivet, this means opening the adjustment and closing it on every rivet, very time consuming, I'm wondering if there's something I'm doing wrong?
Anyway, it does set the rivets properly (checked with a rivet gauge) and I've not had any bad ones yet (not that I've done many!)
The VS spar gets riveted where the hinge attaches
Priming isn't taking too long really, I wash with acetone and lightly Scotchbrite the surface, then put the parts in the spray booth and a spray on a couple of light coats. It covers nice and thin and light.
I debur edges and holes of other parts while the primer dries, so it's not wasted time.
Assembly of the VS skeleton was very fast, the blind rivets are extremely easy and quick to do.
I think nearly all the time building this plane will be deburring, the rest of it seems very quick and easy, and the actual riveting of the assemblies together takes hardly any time, like all good jobs, it's all in the preparation.
Finished VS Skeleton
While the primer dryed on the VS skin I started section 07 - the rudder
Once I had deburred all those parts, the VS skin was ready to rivet onto the VS skeleton.
Phil and Alec helped with all the cleco insertion and removal and cleared away the rivet mandrels as I went down the rows.
Here is the finished VS, the blue plastic looks a mess, but I decided to leave it on for now to avoid scratches
Phil and Alec
My first completed airframe part !
Test fitting the rudder hinge
Time caught up with me on Sunday and I didn't get to finish the rudder, but it's almost done, the first rivets in the skin have been set, I just need to finish this side and rivet the other side, maybe I'll get a hour after work one day this week...